Creating API Keys
All Loqate services require a valid API key for authentication. Attempting to access any Loqate service without a valid API key will not succeed.
In this article we will explain how to create and maintain your API keys, all of which is done in the Loqate Account section.
Prerequisites
In order to create an API key you will need a valid Loqate account. You can sign up for a free trial, which will get you up and running quickly.
Create a new API key
You can create an API key in two ways:
- Creating a service-specific API key
- Creating a generic API key
For both options, navigate to the Setup page in the Loqate Account section by clicking the Add service + button at the top right of the screen.

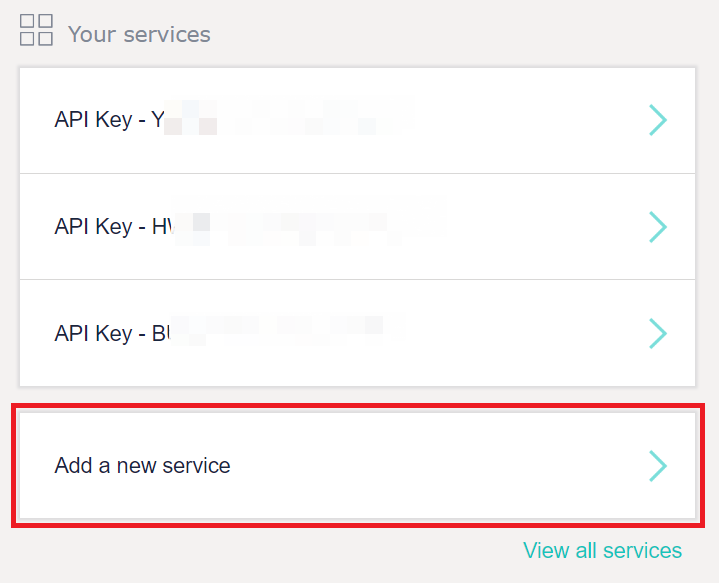
Alternatively, you can select the Add a new service option from the home page.

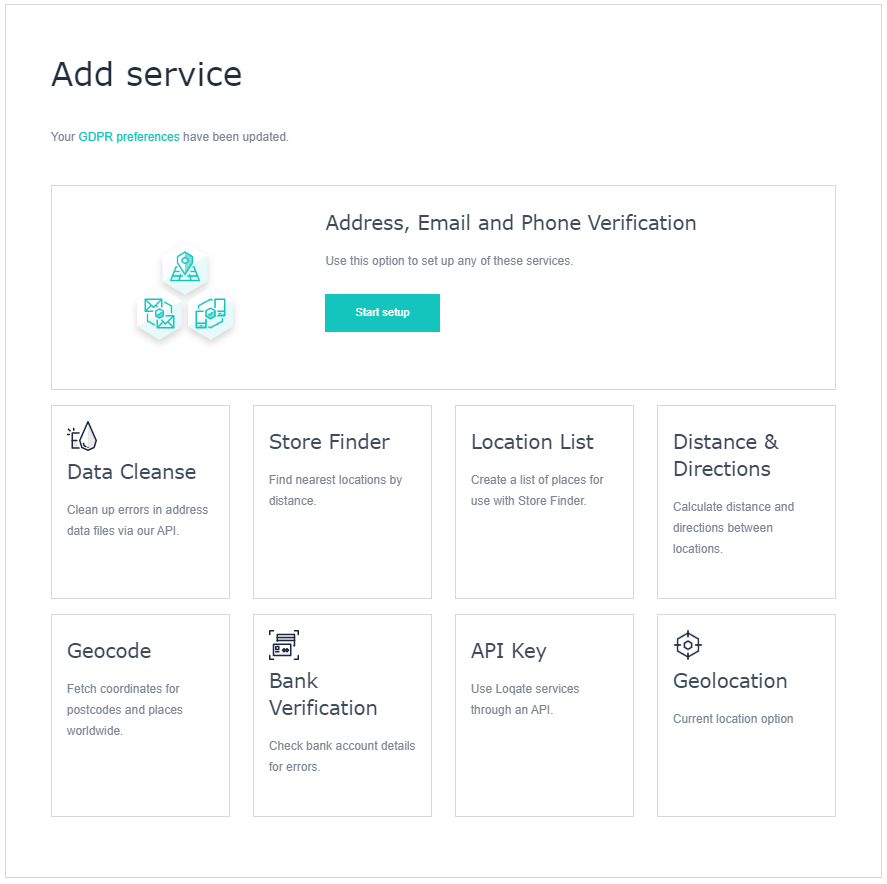
When you select either of these options, you'll be taken to the following screen:

From here you can choose which type of key you want to set up. Without specific limits being applied (which we discuss more in the API key security section) Loqate API keys can generally be used for any service, but we recommend you take the following approach:
- If the Loqate product you want to use is included in this list of options, select the relevant option to create a product-specific key
- Note that the Address, Email and Phone Verification option is for a Tag integration (see the Ways of Integrating page for more information on integration options)
- If you want to use an API integration for any of these services, select the API Key option instead to create a generic API key
- Select the API Key option to create a generic API key which can be used for the Verify product, or for APIs not listed anywhere else

Note that Location List is not a service in its own right, but rather something that's required for the Store Finder service.
Once you've selected one of those options, in most cases you'll be taken to the Service Settings page for your new key.
- In the case of the Address, Email and Phone Verification option you'll first be taken to a multi-step setup process to get your new service(s) ready - see here for more details
- For the Location List option you will be taken to a short setup screen where you can name and upload your list
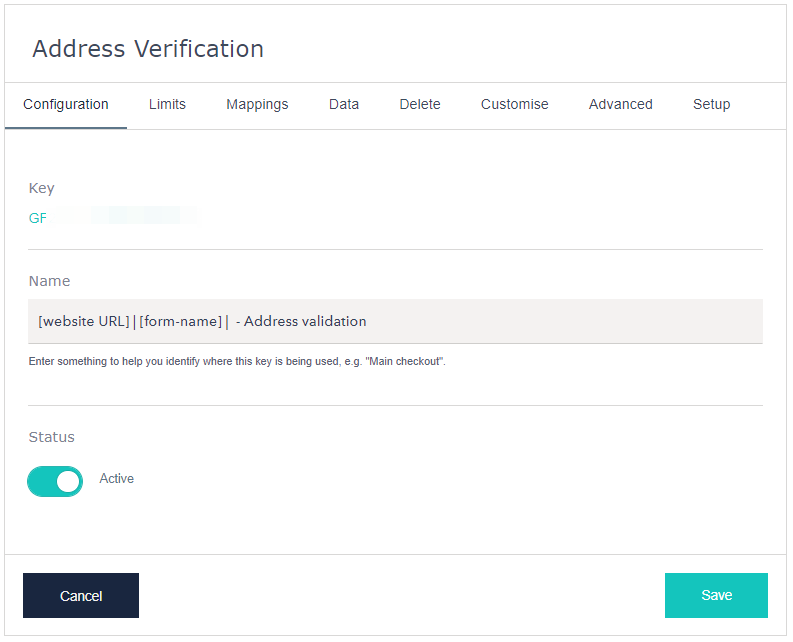
Here's what the Service Settings page looks like for an Address Verification key:

The options you'll see on this page will depend on what type of key you've created.
Common options across all keys include:
- Configuration: edit the name of the key, and toggle it between active and inactive, or set to internal use only
- Limits: set daily lookup limits, and restrict the key to specific URLs, IPs and/or services (see the section on API security)
Some keys include Customise sections in which you can set further options including default visuals and additional URL controls.
Generic API keys, along with Data Cleanse and Address Verification keys, also have the option of enabling additional datasets.
API key security
It's possible to use any API key with any Loqate service, however for security purposes we recommend you use each key with a specific service, and restrict it so that it can't be used anywhere else. This is just one of several security features available, and which we recommend you use to ensure the safety of your integration.
In the Limits section of each key's Service Settings page, you can limit the usage of the key in various ways, including:
- By URL: restricting the key so that the service it's being used for can only be accessed via specific URLs
- By IP: limiting the service the key's being used for to specific IP addresses
- By Service: restricting the key so that it can only be used with a specific service (i.e. only Bank Verification or only Data Cleanse)
For more information on these API key-specific security features, as well as various account-wide options, please see the main Security page.
Monitor usage
We recommend you regularly check the usage for each API key - i.e. how many requests are being made and what the running costs are - in order to maintain visibility of how your services are being used.
You can find per-account and per-key usage summaries in the Reporting page of your Account Section. For example:
- The Usage Summary by Service report breaks down usage by product, although you can filter this to only look at a specific key (i.e. all services using that key)
- The Summary Usage by Key report shows usage per key - hover the mouse over each key to see which service it's used for
Please note that the Charged Requests field in these summaries represents the number of API calls that have been made, not the volume of transactions being processed in a batch.
For more information about usage and the various available reports, please see the dedicated Monitoring Account Usage page.